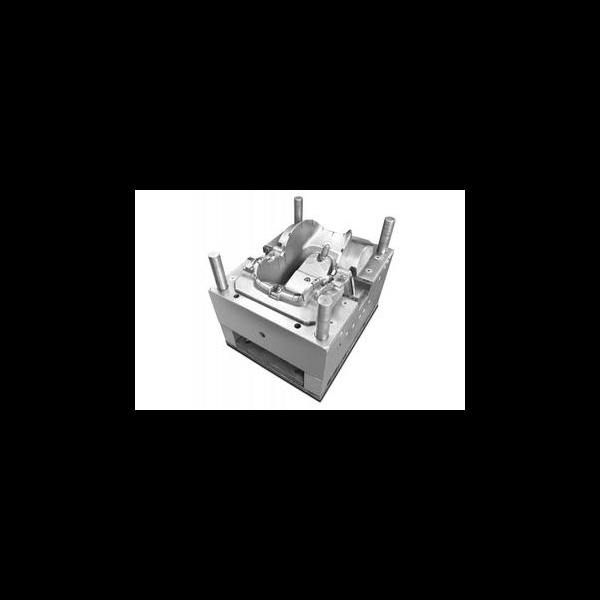
About the product
Run progressive short-shots, using same injection speed/profile as if you were filling the cavities, that way, shear heating effects will be comparable. Note differences in fill patterns. Another suggestion is to hire a thermal imaging camera. That way, you can see what mould surface temperatures are just after ejection and also part surfaces on ejection. This might give other clues. A third suggestion is to do oven reversion tests. A bit tricky with the sharp melting point associated with nylons, but you should see what stress patterns and relative levels have been introduced into the part during moulding. Pity we can't directly review images. If there's consistently a difference, there WILL be rational explanations. With the limited information given and no knowledge of the part geometry, tool design (cooling channels), coolant temperature, melt temperature, fill pressure, holding pressure and time, etc., we must resort to conjecture.
My experience is always, that part design is not following the rules as expected from all calculations and mould flow results. Simply check if the plastic injection molding design could be adopted to be more "practicable" in terms of plastics design rules, hence - rounded corners, wall thickness adaptation, runner size and location and especially flow diameter changes along mould gates. Trust you are an expert in all the mold flow science, but practice is sometimes different...
Please keep in mind or put the idea in your mind, how you would behave as plastics molecule if you would be treated exactly following the injection moulding process step by step. Sounds very simple, but plastics are "living" polymers...
Price
USD 2000
Contact with supplier
Company